Reports notifications
Once a report is created and scheduled, you can define how and to whom notifications will be sent to inform that the report is available.
Notifications types
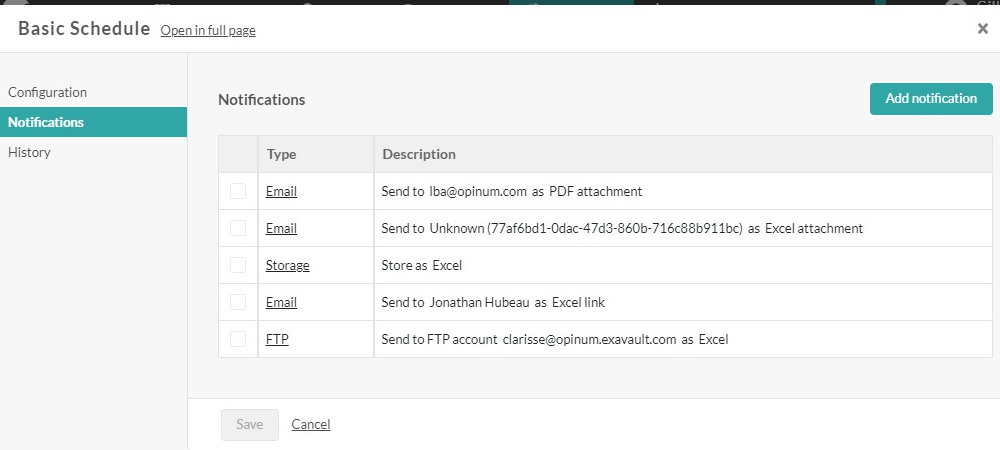
Five kinds of notifications are available, alone or combined:
In the Report schedule pop-up, just click on the Add another notification link, then choose the methods in the drop-down list.

Templates
A template can be applied to your report to add tabs, add formulas and layout. To apply a template select it in the dropdown Template in the notification, or upload it in the Storage.
Managers can also set a template by default in the Account section. Open the Account setting pages, go in the Reports section and open the Template by default tab. In this tab, select the Excel template that you want to be applied on all the new reports or on all reports without template of the Account. This template will be applied for all users. Any user can replace the default template by another one, report by report.
Two formats of templates exist:
The Excel format that allows to customize directly the output of a report and apply it on the next occurences. Learn how to create and upload a template.
The advanced custom format that allows to export reports in custom formats (CSV, Json, XML, etc.): Learn how to create and upload a template.
The reports notifications can be sent to Opinum users or to any email addresses.
Type: select email
To: choose the user who will receive the email. If you want the notification to be sent to several users, a notification should be created for each user.
- If you select User, a drop-down will display the list of users of your Opinum account. The user will receive the notification on the email address set up in Opinum.
- If you select Custom, just write the email address. The notification can be received even by someone without Opinum credentials.
As
- Format: choose the format of the file that will be sent by the notification, Excel or PDF.
- As: the file can be sent as a link or an attachment of the email. The advantage of the link is that it will keep the email weight light, but the receiver will need to log in Opinum Data Hub to have the report downloaded automatically.
From: you can customize choose the email address that sent the email. If not indicated, the mail will be send from info@opinum.com.
PowerBI
To send reports in PowerBI you should first link your PowerBI account to Opinum. To do so:
To link PowerBI on a user level: go to *Profile > External Service Credentials > Add New > PowerBI > login to powerBI. This connection to PowerBI will be only available to this user.
To link PowerBI on an account level (managers only): go to Account > Services > Add Linked Service > PowerBI > login to powerBI. This connection will be available for all users in the account.
Then in any report, you will just have to select the PowerBi account that will receive the notification.
Storage
To send reports on the Opinum Storage, just choose the format of the report (Excel or PDF). Then the report will be sent in the Storage according to its schedule.
Azure Table Storage
You can connect Azure Table Storage to Opinum Data Hub at a user level or at an account level:
- User level: the connection will be available only for the user.
- Account level (managers only): all the users of the account can use the Azure Table Storage account connected.
In both cases to send reports on Azure Table Storage you should link your Azure account to Opinum.
- Retrieve your Azure storage information: you will need your Azure Storage account name and its access key.
- Go to your Azure storage account.
- Under Security + networking, select Access keys.
- Your account access keys appear, as well as the complete connection string for each key.
- Select Show keys to show your access keys and connection strings and to enable buttons to copy the values.
- Under key1, find the Key value. Select the Copy button to copy the account key.
- Go back to Data Hub to encode those informations
To link Azure Table Storage on a user level: go to Profile > External Service Credentials > Add New > Azure Table Storage > login to Azure Table Storage. This connection to Azure Table Storage will be only available to this user.
To link Azure Table Storage on an account level (managers only): go to Account > Services > Add Linked Service > Azure Table Storage > login to Azure Table Storage. This connection will be available for all users in the account.
Then in any report, you will just have to select the Azure Table Storage account to use.
Note
Please, note that if you choose to send your report to Azure Table Storage, the names you give to your report's sheets will be the names assigned to the Azure's tables. Therefore, these names must conform to Microsoft's rules
FTP
To send reports on a FTP you should first link your Azure account to Opinum. FTP, SFTP and FTPS are supported.
To link a FTP on a user level: go to Profile > External Service Credentials > Add New > FTP. This connection to FTP will be only available to this user.
To link FTP on an account level (managers only): go to Account > Services > Add Linked Service > FTP. This connection will be available for all users in the account.

Tip
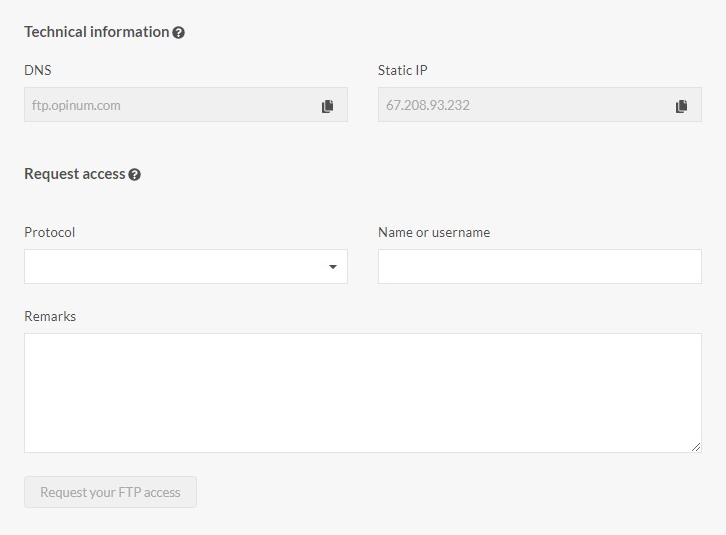
Learn more about FTP connection in Opinum
Once the FTP is defined, it can be used on each reports. Choose the FTP to use, the format of the file and the path. If you add a new path, it will create automatically a new folder in the FTP.
