Invite users
New users are created in Opinum Data Hub thanks to an invitation. Every managers of the account can send invitations to give access to new users. New future users will receive the invitation by email. By clicking in the email, they will open the registration page where they will confirm their personal information and choose their password.
Send invitation
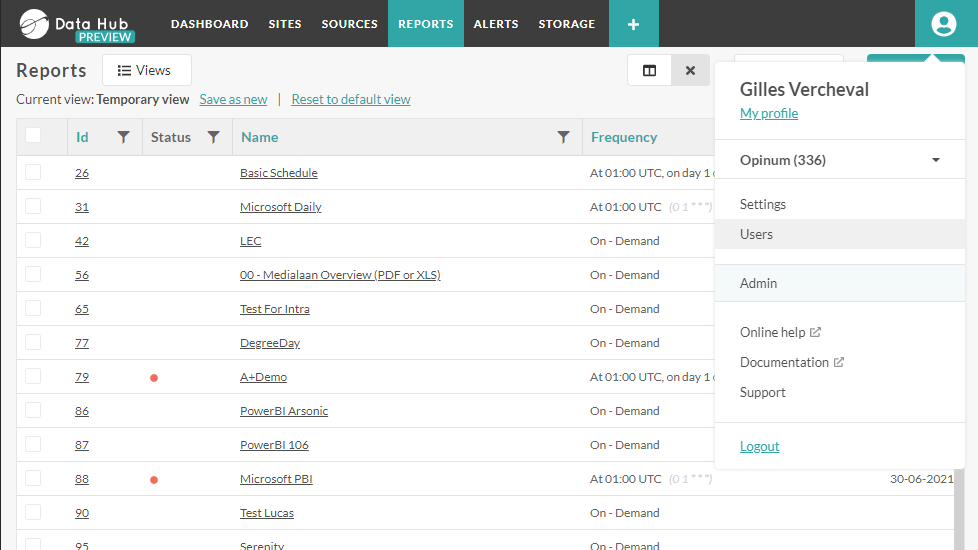
To invite users click on your name at the right of the header to open the Settings menu, and click on Invitations. Managers can only invite users on the account they are connected to.
The invitations page opens. Click on Invite someone and fill in the field in order to send an invitation to a (future) user of Opinum Data Hub.
General information
Encode the contact details of the new users.
Caution
The email address should be unique. Several users can't be created with the same email address.
Permissions
Learn more about users rights before sending the invitation.
Roles
First choose the role of the new user: user or manager.
Secondary access
Then select secondary accesses if needed.
- Opinum Data Hub: access to the Opinum Data Hub platform
- SiteCare: access to the SiteCare platform
- Opinum Index: access to application Opinum Data HubIndex
Learn more about the mobile app Opinum Index
Functionalities
If the new users will have the role of users (and not managers), the manager who invites them have to grant them access to the features they need.
By default, the user has no access to any functionality. Check the level of rights in front all all the features.
Note
If a level of permission is not checked, the user will not see the feature in Opinum Data Hub.
Sites
If the new users will have the role of users (and not managers), the manager who invites them have to grant them access to the sites they need.
By default, the user has no access to any site. The person inviting the user needs to choose to which sites he wants to grant access.
Click on the Add a site button.
The add a site for an invitation pop-up appears.
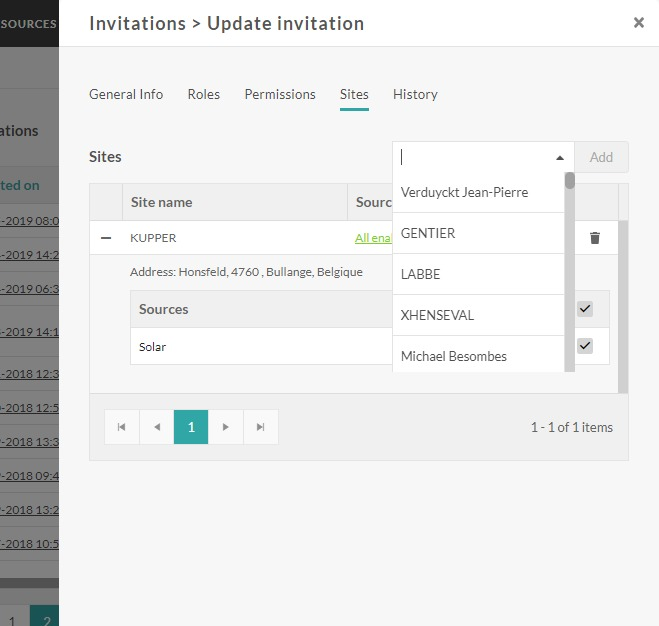
Choose the site needed in the drop-down and click on the Save button.
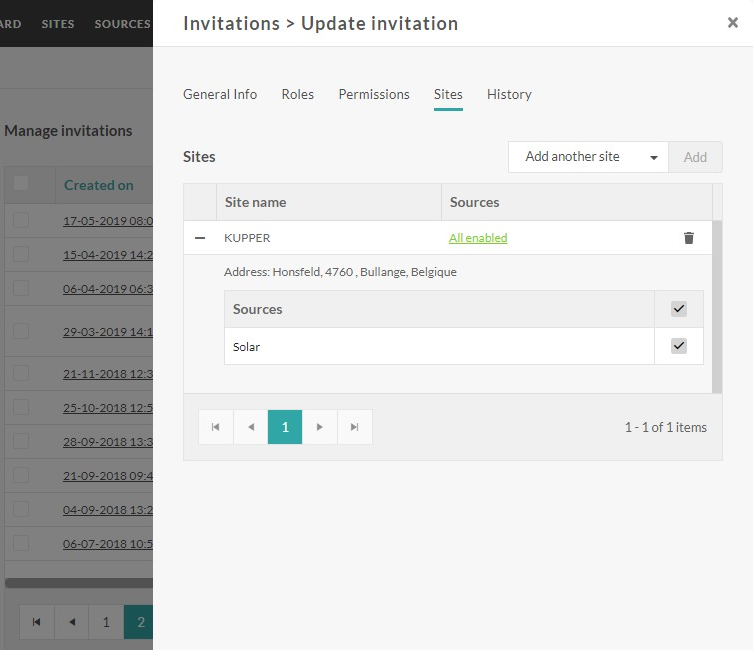
Sources
Then click on the Site, and select the Sources that will be granted to the new user.
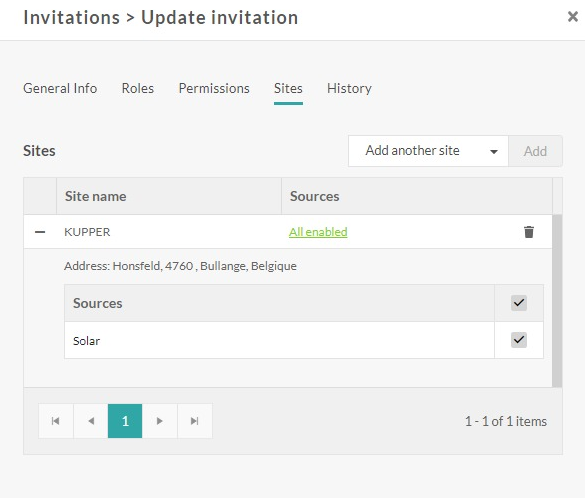
Then click on the Save button. The new users will receive the invitation by email.
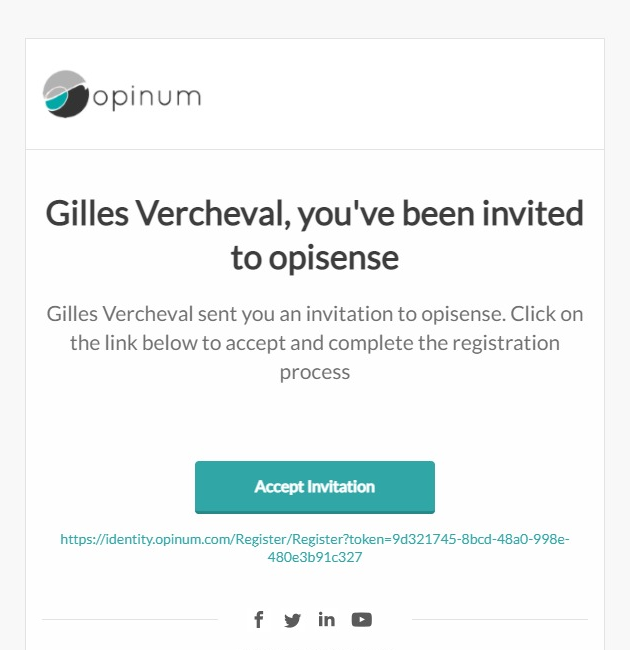
Accept invitation
Once the invitation is send to the new users, they need to accept it. To accept an invitation and create a new user to Opinum Data Hub, just click on the button Accept invitation.
Then the user creation page will be displayed. The new user can edit the personal information and must choose a password.
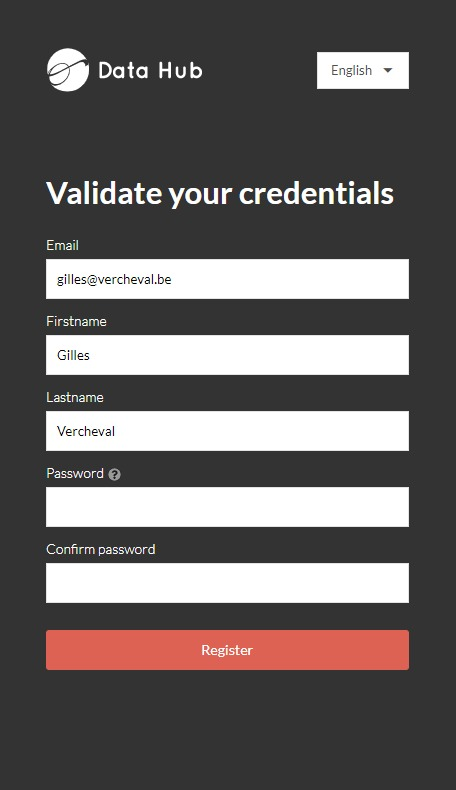
Important
To choose your password use 6 or more characters with a mix of capital and lowercase letters, numbers & symbols.
Click on the Register button. The new user will be automatically created, and will be able to log immediately in Opinum Data Hub.
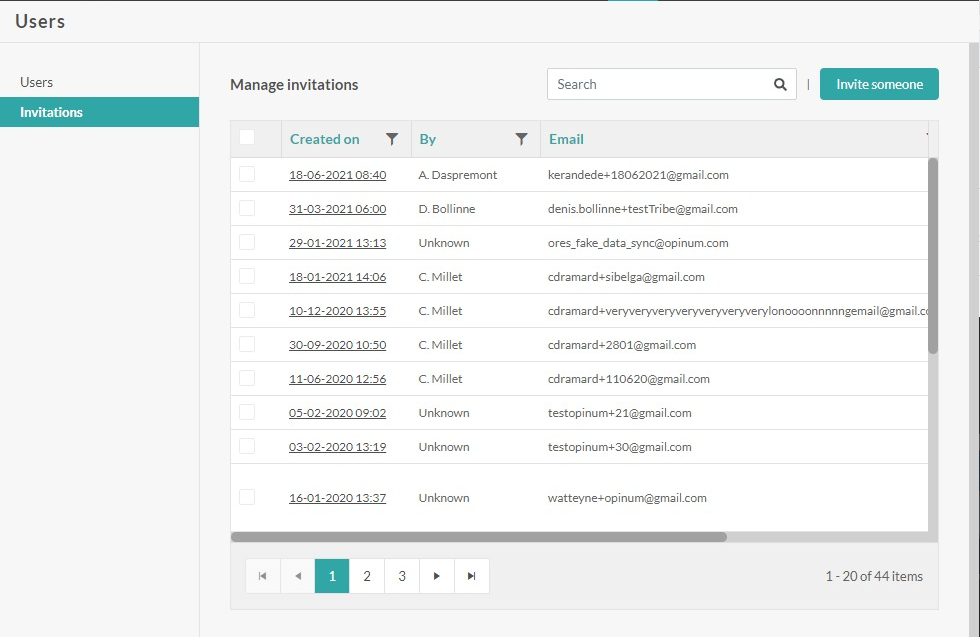
Manage invitations
All the invitations already sent for the account are displayed in the Invitations page.
Follow the status of an invitation
The managers can easily see if invitations have been used. The date of invitation validation is displayed in the Used on column. If you click on the creation date of the invitation, a pop-up opens and displays the statusof the invitation status: processed, delivered, opened, clicked.
Invitations can be searched thanks to the search box, and can be filtered by status with the Status drop-down.
Update an invitation
An invitation can be updated until it has not been accepted. just click on the pen icon displayed in the Actions column to display invitation pop-up. Update all the fields you need and click on the Update button.
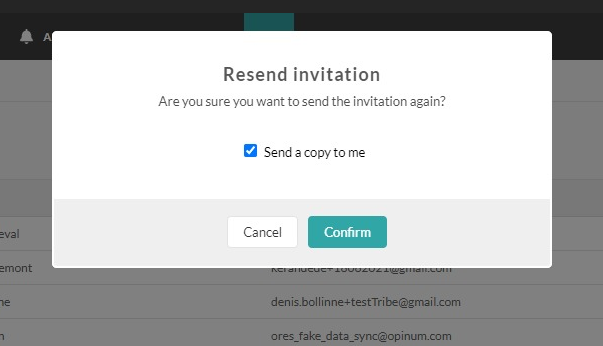
Send again an invitation
You can send again an invitation by clicking on the envelop icon displayed in the Actions column.
A confirmation pop-up will be displayed. You can choose to receive a copy of the invitation by checking the box *Send a copy to me"