Sites events
Events indicate something that happens in the past or in the future. An event can have an impact on the value of a source (e.g. a consumption) or on other relevant data related to a source, for example construction work on building, maintenance of heating installation, change of heating installation, new insulation, start date “challenge” lowering consumption etc.
To define an event for a site, go on the Sites page, click on the Name link. The Sites details page opens. Click on the Events tab.
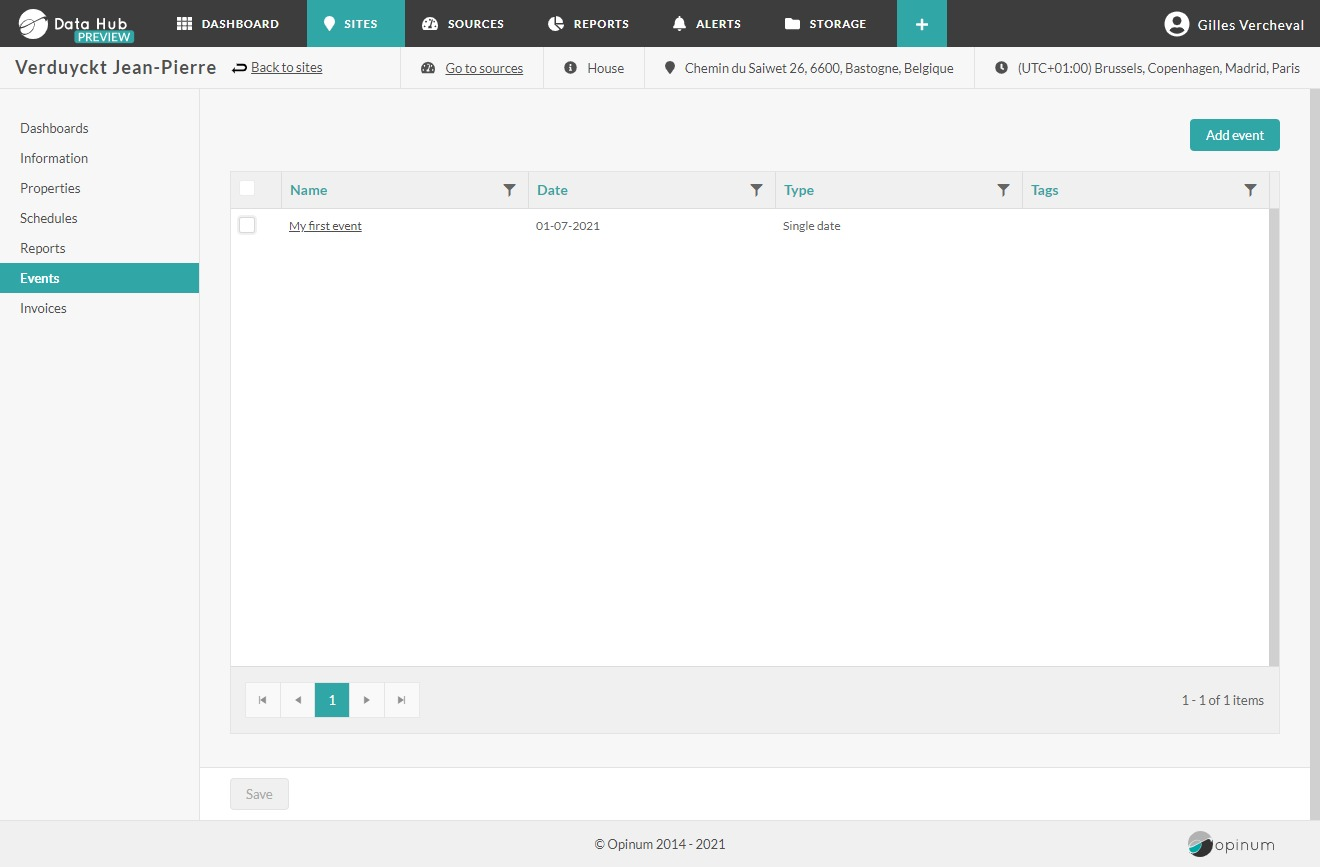
Click on the Create a new event button. The Event pop-up opens.
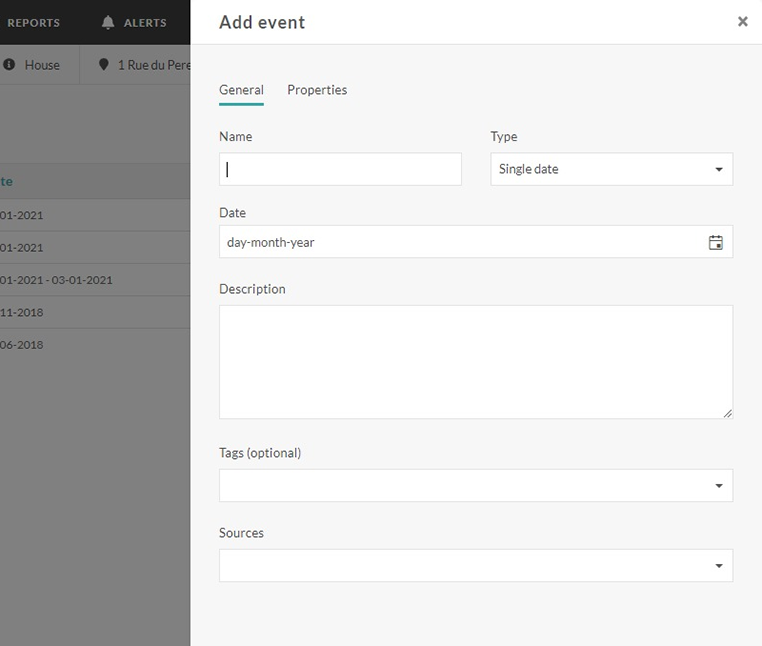
Fill in the fields of the general tab:
- Description: free text field in which a name for the event can be filled in
- Type of event:
- SingleDate: characterizes an event that lasts only one day. Select the date in the Date field.
- Period: characterizes an event that lasts more than one day. Select the start date and the of the event in the Date field.
- Information: free text field which permits to give more details on the event.
- Tags: by choosing a tag, you can indicate that the event will have an impact on the sources with the tag selected. A tag can be given on the level of the creation of the sources.
- Sources : select one or more sources on which the event will have an impact.
You can add custom fields in the Properties tab. To define those custom fields, create first forms on events.
Tip
Learn more on Forms
Manage events
Once schedules are created they can be edited and deleted.
Edit events
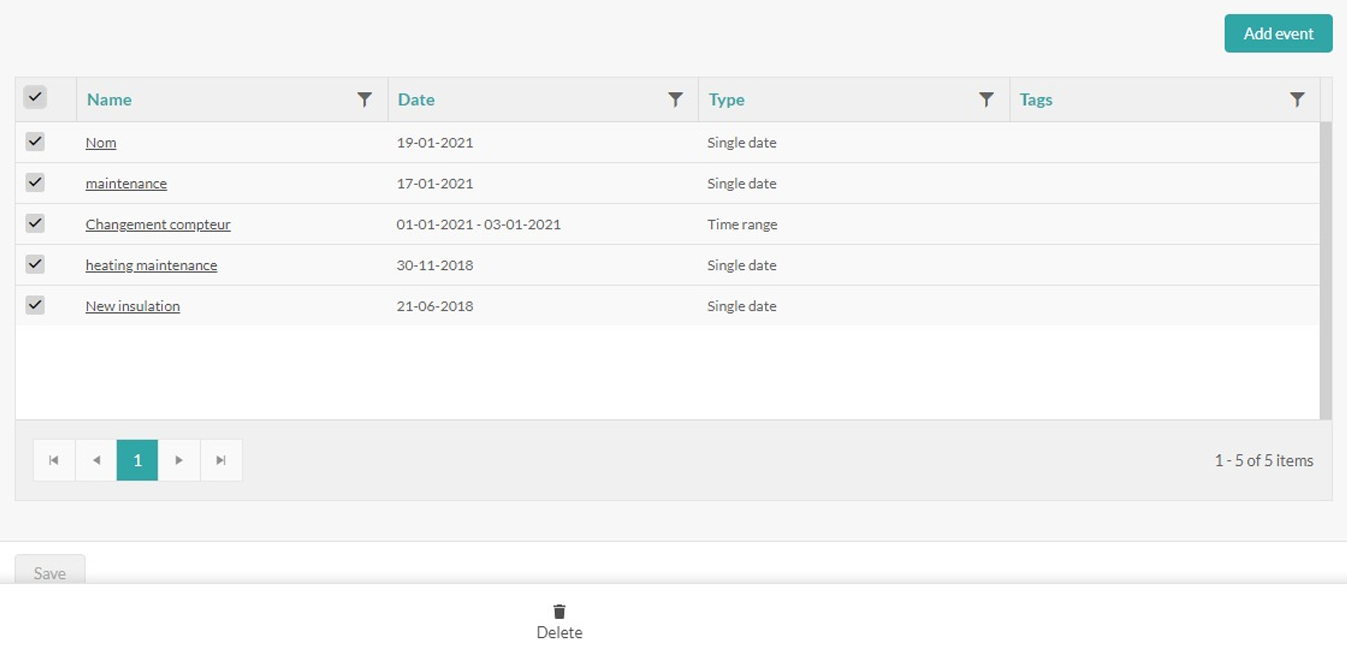
To edit an event, click on it to open the Event pop-up. Edit the fields you need and click on the Save button.
Delete events
To delete an event, click on it. The event pop-up will open. At the bottom of the pop-up, click on the Delete button. A confirmation pop-up will open. Click on the Confirm button to delete the event.
Warning
When an event is deleted, the data can't be retrieved.
Display events on graphics
The events can be displayed on graphics of source data. Go on the Sources page, click on the ID or the name of the source, and go on the Visualize tab.
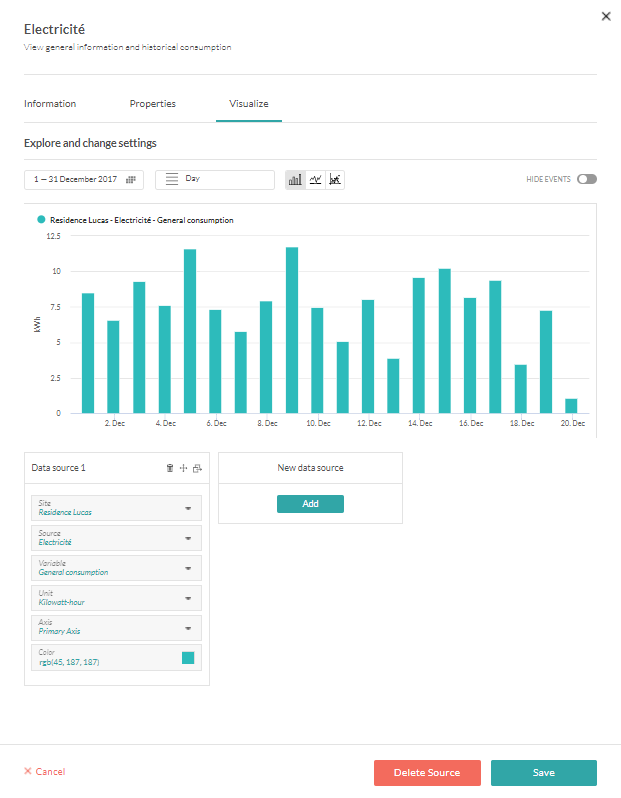
To display the events on the graphic, just switch ON the events.
Export events in reports
Events can be exported in a report. The event will be displayed in a dedicated sheet in the Excel reports, and in a dedicated page in PDF reports.
Go on the Reports page and create or open a report.
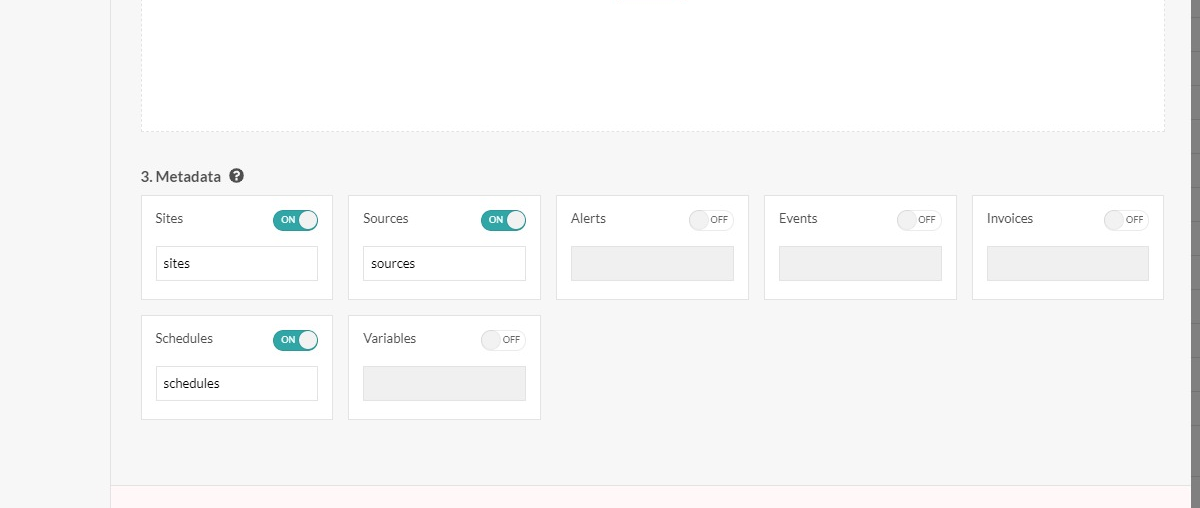
In the Metadata section, switch ON Include events and fill the name of the sheet.
Click on the Save button.
Tip
Learn more on reports
