Introduction to Open Data Model
The Open Data Model (ODM) is aimed at providing the infrastructure to create and query custom data model.
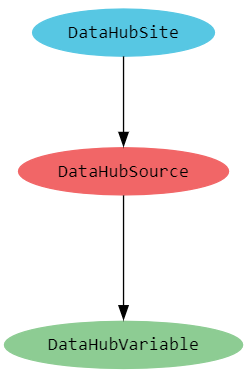
Native Data Hub model
Data Hub natively offers a quite basic data model
Although the native Data Hub model is enough for most of the use cases, it is quite difficult to represent custom models, among which:
- group entities by custom criterias (could be done by Forms on Site and Sources, mapping config on Variables)
- name entities according to a custom model, e.g 'source' being 'delivery point'
- add entities that do not fit well with the native model, such as 'client', 'support team', 'meter', ...
- query data according to a custom domain, e.g getting the sum of consumption of all 'consumption variables' linked to a 'delivery point'.
Moreover, using the standard Data Hub API, there is a very limited way to retrict the properties returned by the API. For example, if someone only needs the name of a source based on it's Id, the API will return all the source's properties.
Open Data Model
The Open Data Model provides the infrastructure needed to perform the following operations:
- Define a custom model through a schema
- Create custom objects and define relations by applying mutations
- Query the model and project the object's properties through queries
Open Data Model storage
You can persist Schemas and queries through Open Data Model storage
Open Data Model as a metadata slicer
Tip
This sections contains topics that were described above, we highly recommend to read the entire documentation and to come back to this topc later.
Thanks to the fact that a Data Hub supports multiple schemas on the same account, the combination of schemas and queries can form metadata slicers, in other words a kind of specilized views on Data Hub metadata.
Let's imagine a company having a production team and a support team.
The Production team slicer
The production team focuses on production zone, whatever kind of production equipments. It's schema could look like:
type Query {
    Zones : [ProductionZone]
    Lines : [ProductionLine]
}

type ProductionZone {
   Name: String
   Lines: [ProductionLine!] @direct_relation(Type: "HAS_LINE")
   Equipments: [Equipment] @traverse_relation(Type: "HAS_PROD_EQUIPMENT", Depth:2)
}

type ProductionLine {
    FoodType: String
    Manager: String
    Equipments: [Equipment] @direct_relation(Type: "HAS_PROD_EQUIPMENT")
}

type Equipment {
    Name: String
    Sources: [DataHubSource!] @direct_relation(Type: "IS_PROD_SOURCE")
}
Data Hub sources are grouped by production zones and lines. One can get the list of Data Hub sources belonging to 'zone1' by the following query:
query { Zones @where(Node:"Name = 'zone1'") { Name Equipments { Name MeterNumber} }}
The Support team slicer
The support team has support engineers specilized in production equipments, whatever zone they are located in. It's schema could look like:
type Query {
    Equipments : [EquipmentType]
    Teams : [Team]
}

type EquipmentType {
   Type: String
   ResponsibleSupportTeam: [Team]
   Sources: [DataHubSource!] @direct_relation(Type: "IS_SUPPORT_SOURCE")
}

type Team {
    Members: [String!]
    PhoneNumber: String
}
Data Hub sources are grouped by equipment type that are managed by support teams. One can get the list of Data Hub sources belonging to 'mixer' equipment type by the following query:
query { Equipments @where(Node:"Type = 'mixer'") { Sources { Name MeterNumber} }}
Caution
Although custom model nodes/relations are segregated by account, they are shared within the same account, meaning that if nodes/relations have the same name in different schemas but different meaning between schemas, they will interfere, leading to unexpected/wrong query results.
Samples
- Schema sample
- Queries samples
- Mutation sample
- The API samples containing all the API samples
Tooling
The Open Data Model samples and Altair Graph Client can help you to build schemas and queries. Postman also supports GraphQL queries.
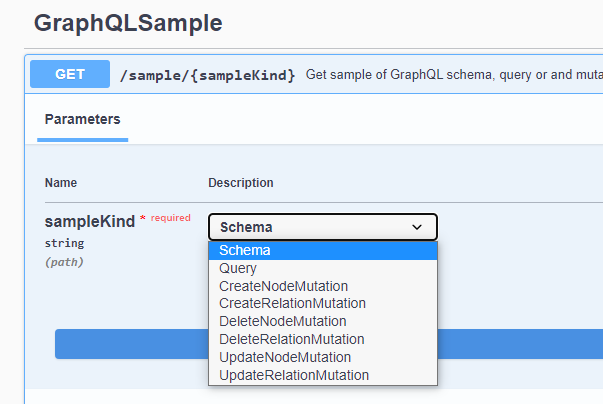
Open Data Model samples
The Open Data Model API provides samples of schema, queries and mutations.
Tip
This endpoint does not require authentication
Altair GraphQL client
The Altair GraphQL client allows you to:
- discover the default Open Data Model schema
- build a query with the help of auto-completion.
First schema and query
Validate schema and query
Herea are the steps to create your first schema and query:
Browse the Open Data Model API
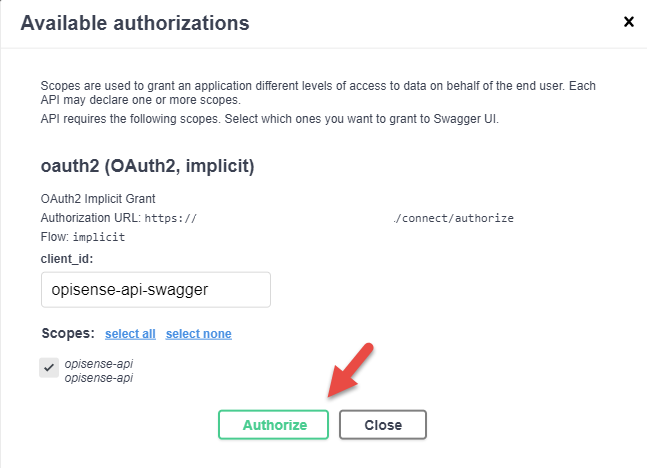
Click on Authorize button
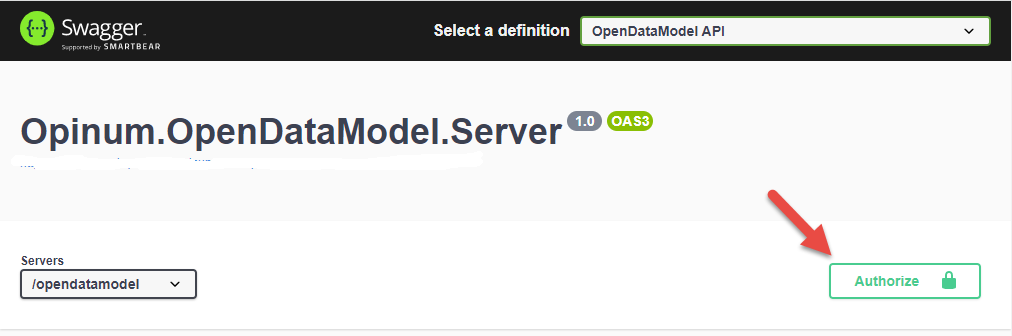
Using client_id datahub-api-swagger and selecting datahub-api scope, click on Authorize button
Login to Data Hub

Go to Query/validate, click on POST button
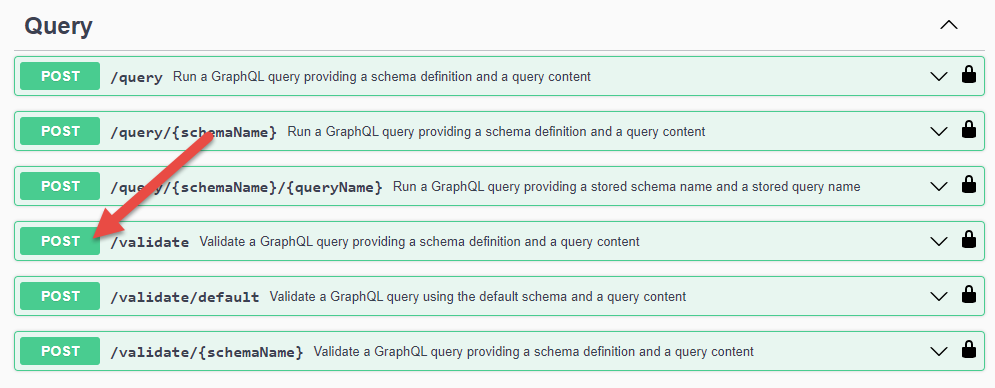
Click on Try it out button

Enter the following schema string in the schemaContent field:
type MyType { MyProp:Int} type Query { MyQuery: [MyType]}
Enter the following the query string in the queryContent field:
query { MyQuery {MyProp} }
Click on Execute button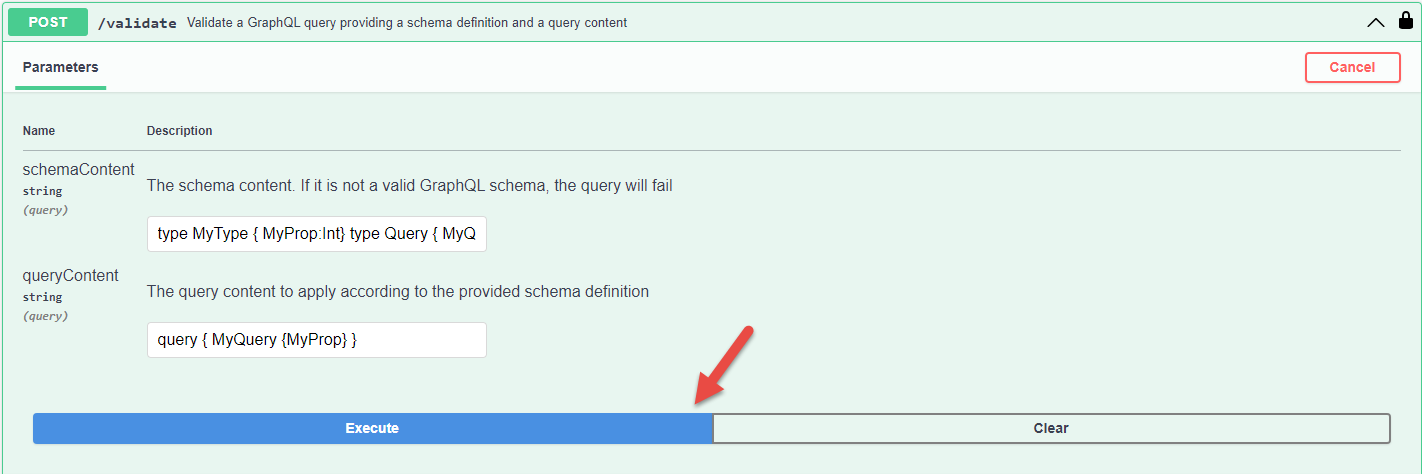
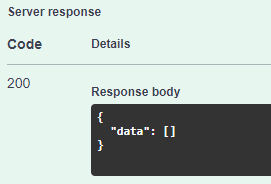
The server response must be:
 This means that both schema and query are valid
Store the schema as the default one
- Go to SchemaStorage/storage/schema/default/{overwriteExisting}, set overwriteExisting to true, enter the validated schema string type MyType { MyProp:Int} type Query { MyQuery: [MyType]} in the schemaContent field and click on Execute button. Your account now contains a default schema that you can query.
Query default schema from API
Important
Since we did not create data through mutations corresponding to our default schema, all queries will return an empty result.
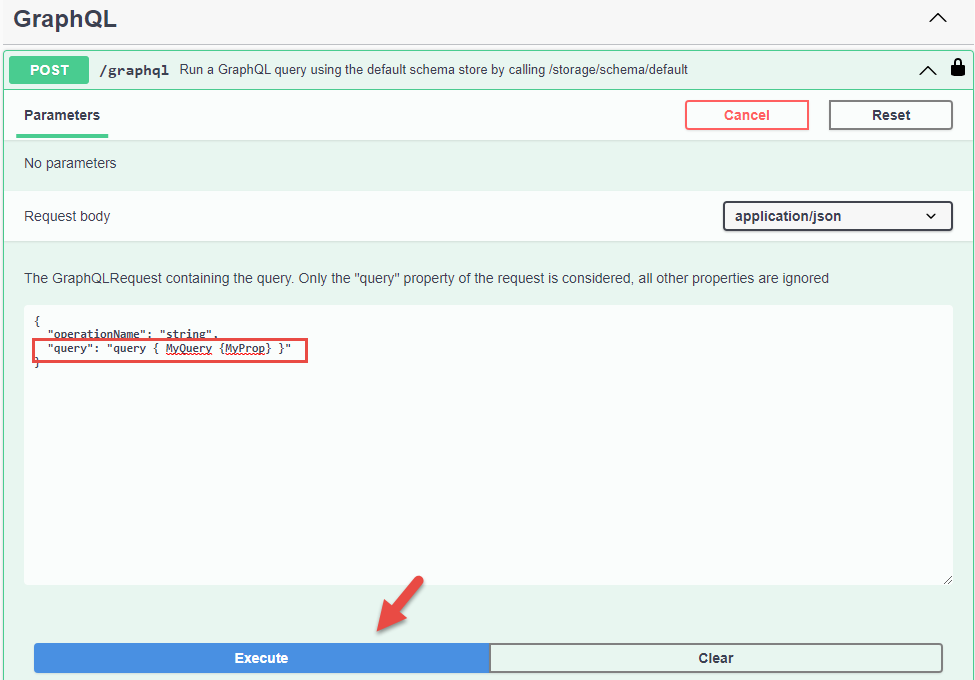
There are 2 ways to run a query on the default schema through the Open Data Model API.
By calling /graphQL endpoint, which is the standard GraphQL endpoint. Replace the "query" value by the validated query query { MyQuery {MyProp} } and click on Execute
You should get the following response:
By Calling the /query/{schemaName} endpoint. Enter 'default' in the schemaName field, the validated query query { MyQuery {MyProp} } in the queryContent field and click on Execute button
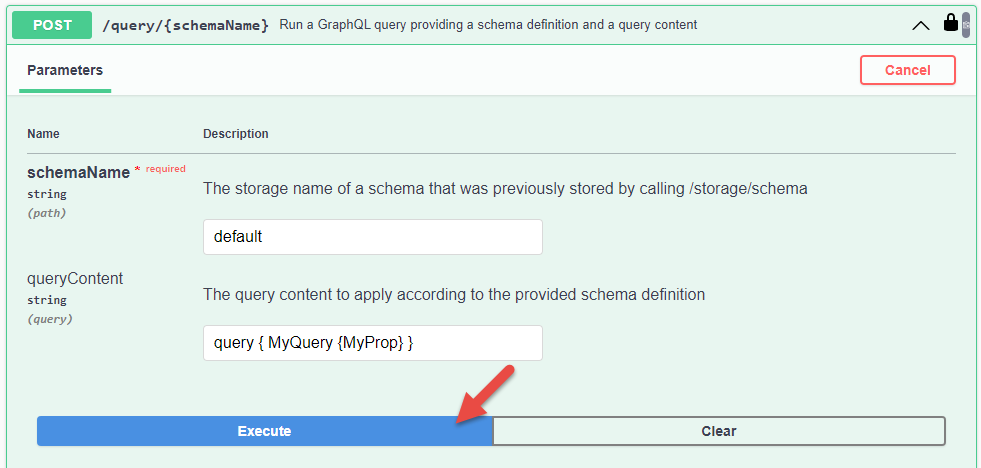
You should get the following response:
Query default schema from Altair tool
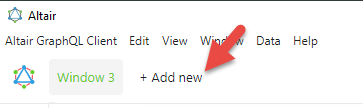
Install the Altair GraphQL client and open it
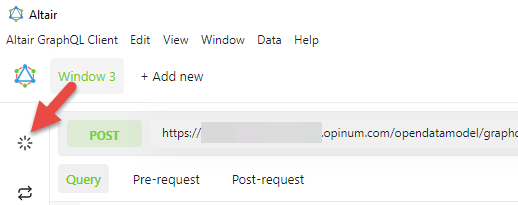
Create a new window
Specify the URL
The tool only supports https://%URL%/opendatamodel/graphql as target URL (%URL% is the url of your Data Hub API). All queries/mutations target the default schema stored in the account, meaning that the tool will not work until you have stored a default schema.
The Open Data Model is secured by a bearer token that you must include in the Atair call. One way to get this token is by performing an authenticated call through Open Data Model API /graphQL endpoint and copying the bearer token in the clipboard
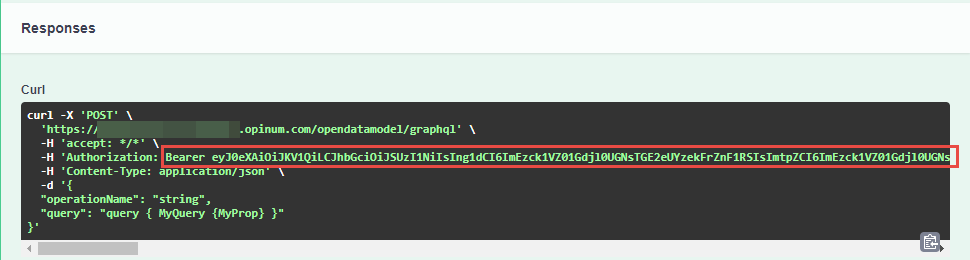
Copy the string "Bearer ..." until the end. Pay attention to exclude the trailing single quote from the copy. Set the query header by clicking the Set Headers button:
Set the Header key to "Authorization", paste clipboard content in the Header value and click on Save button.

Important
The bearer token expires after a few minutes. If you get a 401 error in Altair tool, you must refresh the token by re-doing the above procedure (call /graph, copy bearer, save bearer in Authentication header)
Refresh the documentation by clicking on the refresh button.
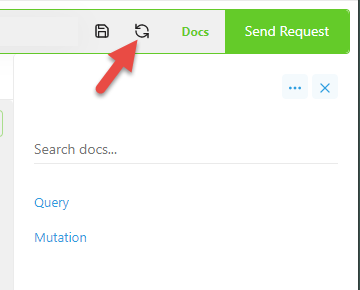
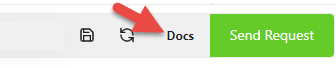
Show the documentation pane by clicking on Docs button
This action sends a query to the Open Data Model that returns the content of the default schema of your account. You can now navigate in Query and Mutation links to discover what the GraphQL exposes.
Click in the query window to set the focus on it
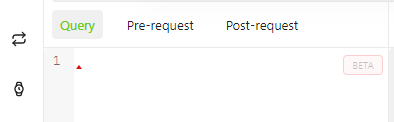
Enter <ctrl> + <space> on your keyboard, this displays the list of items that you can insert
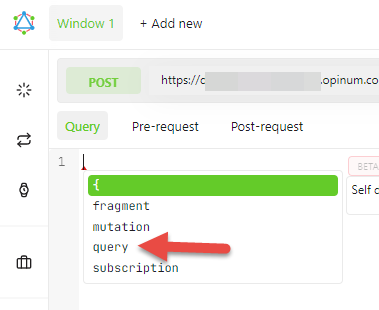
The query is now inserted, type '{'. The tool automatically inserts the closing '}'
Enter <ctrl> + <space> inside the curly braces and proceed until the query looks like:
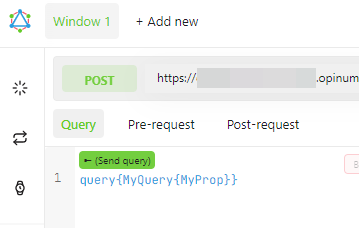
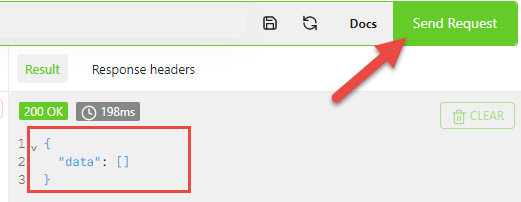
Now, the query is crafted, you can send the request by clicking on the Send Request button. As expected, the result is empty but it means that the query successfully reached the server